A couple of weeks ago I made a small wedding cake for a friend. She sent me the Pinterest idea and I tried my very best to recreate it. It wasn't very hard, and I'm happy to say, this was one of my cakes that thankfully ended up looking fabulous!
So below are some pictures and step by step instructions on how I frosted and decorated this small cake. Sorry in advance if it makes you hungry or crave something sweet. It's a good thing I'm not writing this at home or my oven would already be set to 350....

Cakes, Frosting, and Candy... Heaven on a kitchen table!

First, I get the cake on my spinner. (It makes decorating so much easier!) Then I put a large dollop of frosting on the first layer of cake.

Next, I spread out the frosting. I use more than I think I need to and spread it over the sides of the first layer of cake. Having that extra frosting there makes frosting the sides once you have both layers on super easy!

Then I put the second cake on top of the first and dollop another extra large spoonful of frosting. At this point I usually taste the frosting to make sure it's still okay to use ;)
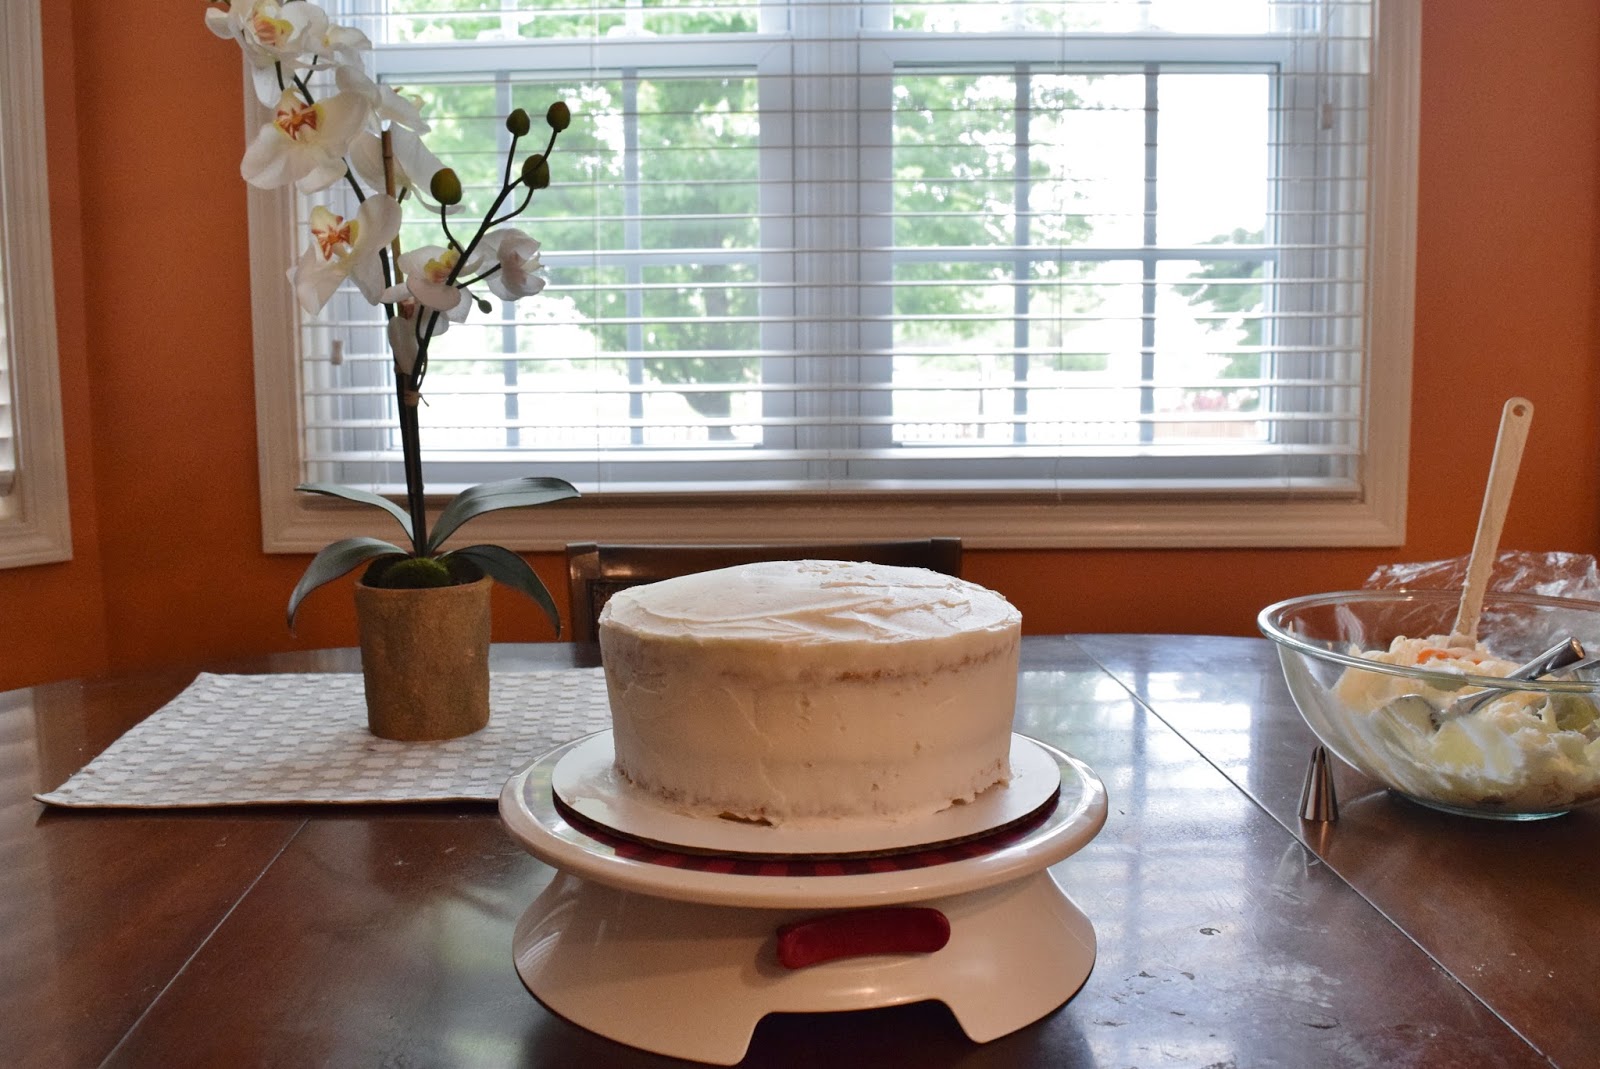
Now it's time to spread the frosting over the whole cake! For this particular cake, I knew it didn't have to look perfect because I was going to pipe flowers all over it. So I just put a thin layer of frosting over the whole cake. However, if this were a cake where I was going to see this frosting layer, I would have used much more frosting and trust me, it wouldn't be see through!

Next, I piped flowers over the whole thing! I used the 1M Swirl tip by Wilton. Normally I use this tip for cupcakes, but it worked perfectly for this cake! I piped the circular flowers first and then later went in with the same tip and added the smaller flowers.

For the final touch I put large pearl candies around the bottom and tiny pearl sprinkles on the small flowers on the cake. Then I transferred the cake to my cake stand and Voila!

It is finished! At this point I put it in my fridge to keep cold so that the frosting doesn't melt and then I pray I don't drop it on the way to the wedding. I also forewarn my husband that he will have to drive like a granny for the entire 45 minute trip. He was thrilled.


And here it is! At the reception in one piece! Mission Accomplished.
Beautiful cake Alyssa!
ReplyDelete